|
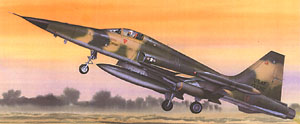
Classic Airframes Kit Number 485 1/48 F-5A |
|
|
Reviewed By Dave Morrissette, #33653 |
|
|
|
|
|
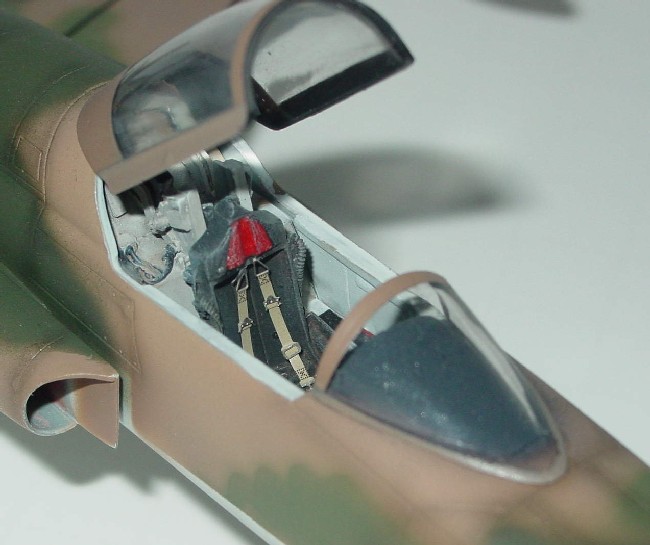
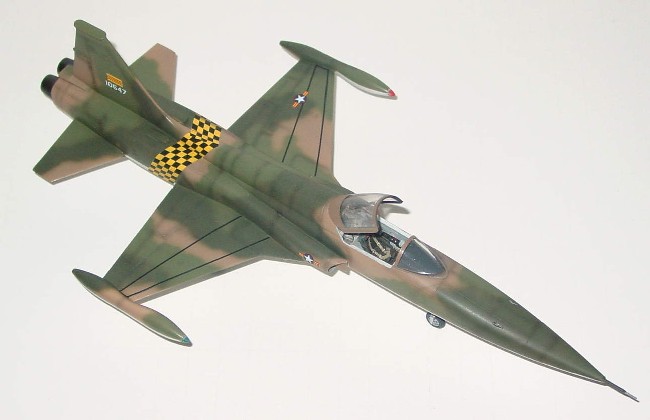
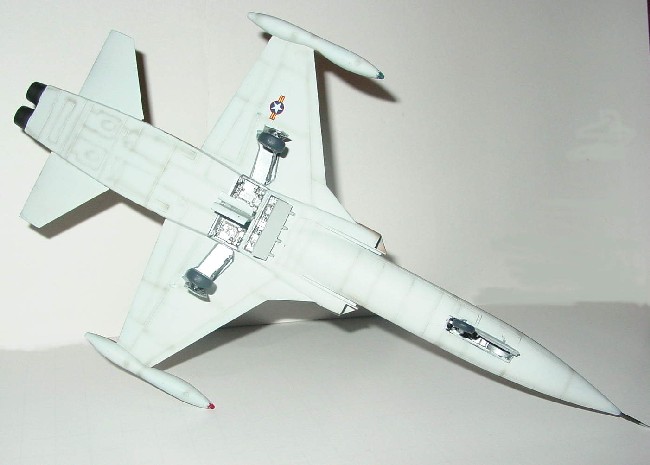
MSRP: $49.95 USD Classic Airframes has started its line of F-5 kits (long overdue I the modeling world) with the F-5A. The kit has marking for three air forces, USAF, South Vietnamese (Southeast Asia schemes) and a silver-colored Spanish Air Force Freedom Fighter. The kit is multimedia, with the wheel wells, cockpit, seat, speed brake and engine exhausts in resin, with the rest of the airframe being injection molded. Construction started with the cockpit. Some mold blocks were removed from the seat and cockpit. These were then primed and painted along with the instrument panel. I really like the detail level in the cockpit and on the seat. They are as good as most aftermarket sets, especially the casting. The fuselage halves were cleaned up from the sprue attachment points. Most of you will be aware of this, but this is a limited run kit and the sprue attachment points are substantial compared to Revell or Tamiya. I used a small saw to cut them loose and sanded the stubs - and the halves were good to go. I added weight to the nose- don’t want a tail sitter. The cockpit and resin nose gear well fit into the fuselage, and the fuselage halves go together well. However, I used Tamiya thin glue and managed to slightly misalign the halves which took a little filling and sanding to get right. I would use slower setting glue next time. The resin main gear well was sanded loose of its pour block and fit OK. I aligned the back underside of the fuselage and there was a slight gap between it and the resin insert. Filled the gap with Elmer’s Glue and wiped with damp cotton bud (always wanted to say that) and it was good to go. At this point, I ran into two problems. First, I wanted to add the wings. I glued the top and bottom halves together and there was a minor seam but no biggie. However, when I wanted to add the wing to the fuselage, the tabs in the wing were oversized to squeeze into the hole in the resin part of the fuselage. A little sanding and grinding and I had an OK fit and a little putty and sanding later, it looked good. The second issue was at the rear of the fuselage where the afterburner cans meet. There is a housing above the cans and no part to cover this. It leaves a hole into the back of the fuselage. I used plasticard and plugged it. It’s nice to realize that I can still put things together that aren’t a perfect fit. The rear stabilizers are attached by drilling holes in the fuselage and gluing them in- I drilled holes but used brass rod to help attach them as they might have been weak. I added then intakes that required a slight fine-tuning to get them to fit well and re-scribed panel lines. After this, a good sanding and priming later, I was ready for some paint. I used Xtracolor sand, dark and light green from the Vietnam era to do my plane. I chose the South Vietnamese AF and it had a very attractive band around the back of the fuselage. Paint went on great and being Xtracolor, no prep was need. Decals went down great with no problem (other than my own misalignment of the bands which shows at the top). I flat coated the kit and wanted to try something different. I have been reading Brett Green’s book on building BF110’s and he actually sprays the panel lines with a thin wash solution. So I tried it with a very dilute solution of Floquil weathered black (very dark gray) and slowly went through the panel lines with my Sotar 2020 airbrush. Looked OK, so I flat coated with Dullcoat and then added the canopy, undercarriage, etc. A note about the landing gear: they are all butt joints - I pinned them in palace for strength. This build was a blast! I know some people will be turned off by the slight issues with the fit and the like but it is nothing the average modeler (which I am) can’t overcome easily and end up with a great kit. I would make only two suggestions to Classic Airframes - first, I would resin cast the wheels as I think they would look better. Also, a better drawing of the way the canopy sits on the back of the cockpit would have made things a little easier - but nothing a few looks at the Internet didn’t solve. I would like to thank Jules Bringuier and Classic Airframes for not only the kit but their efforts in supporting the subjects that modelers really want and getting them to us. |
|
|
|
|
|
|
 |
|
Information, images, and all other items placed electronically on this site are the intellectual property of IPMS/USA ®. |
|